


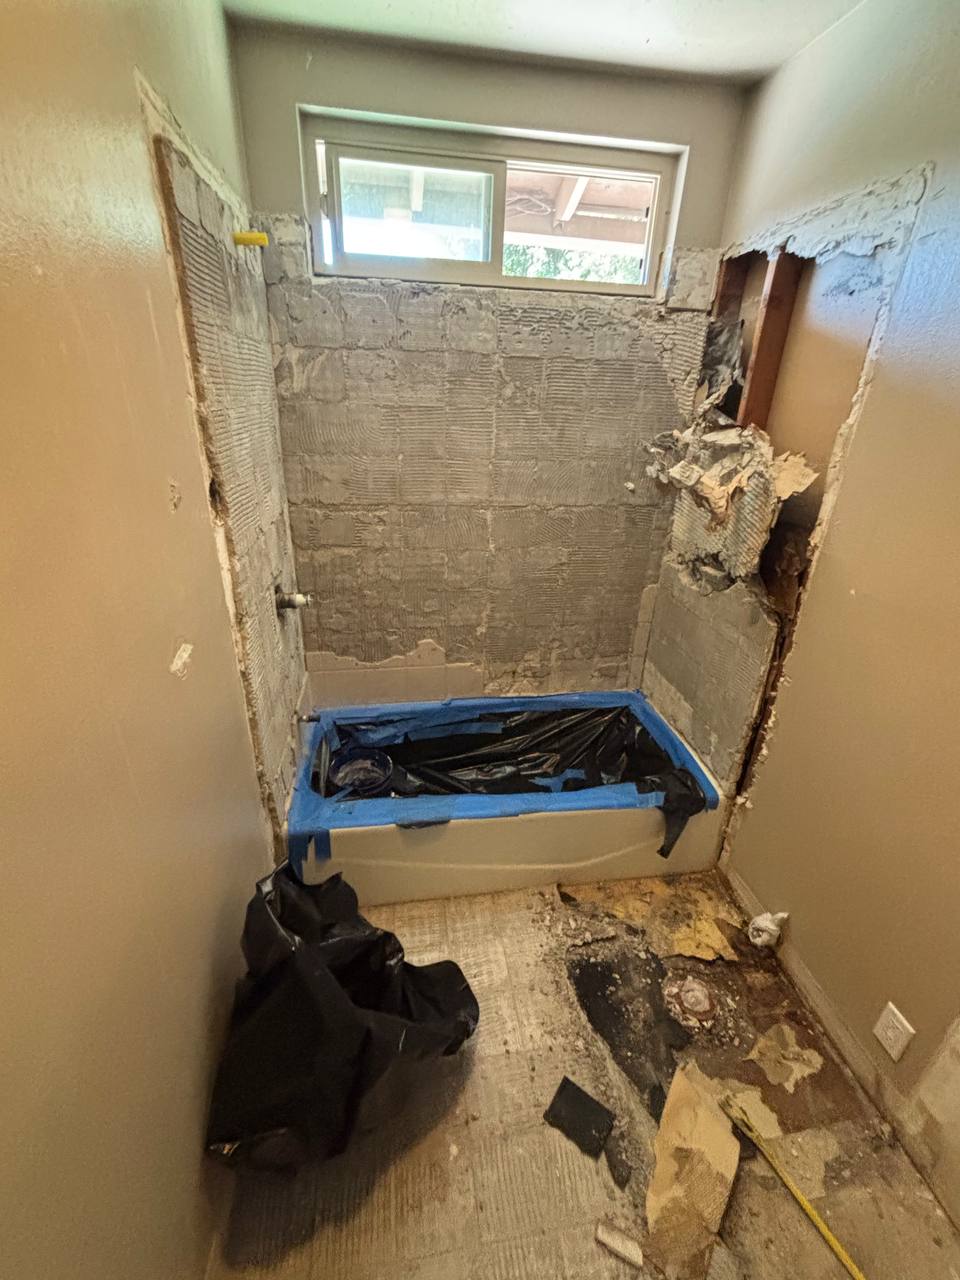

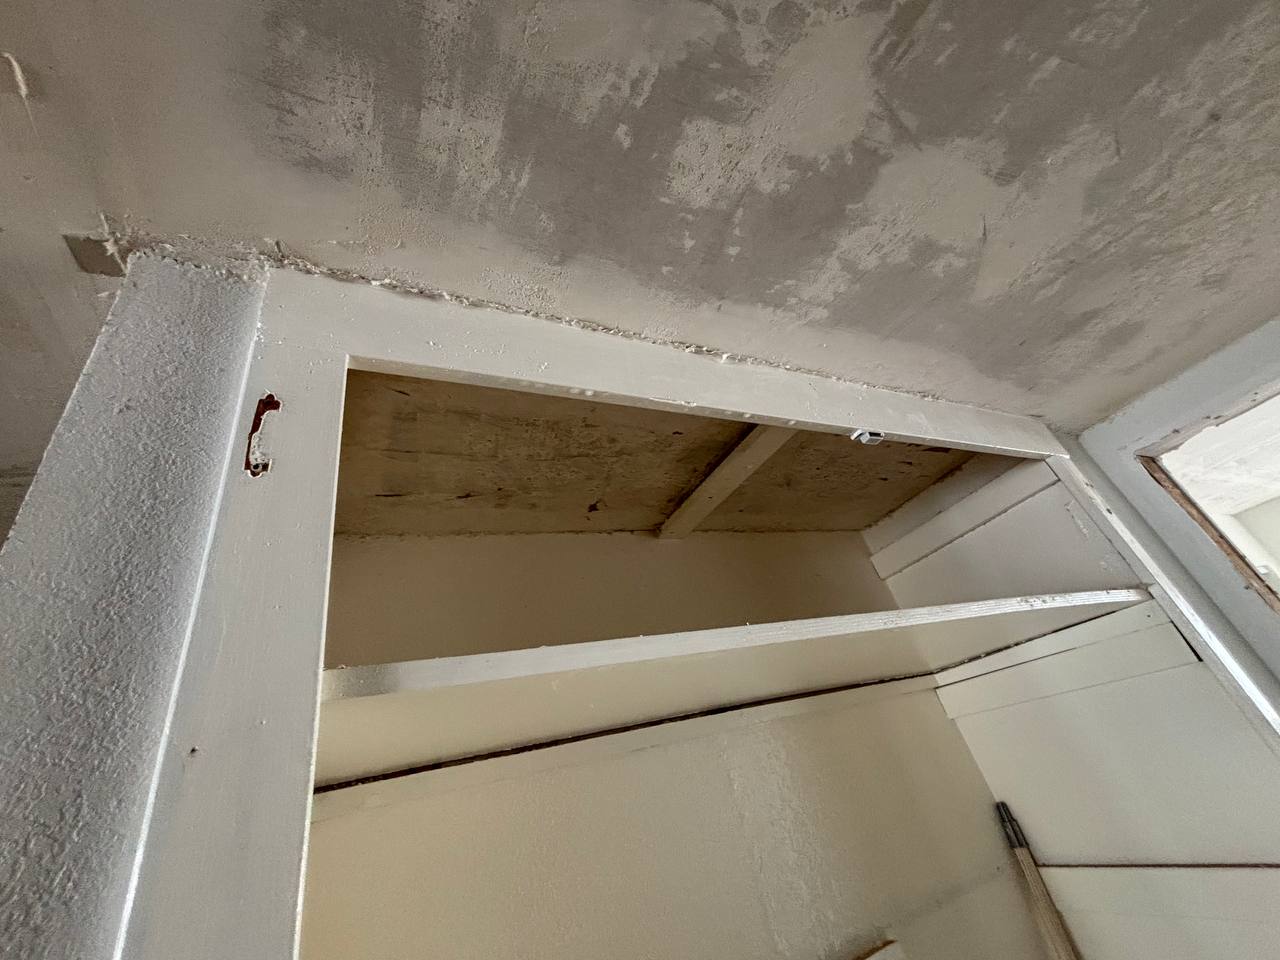
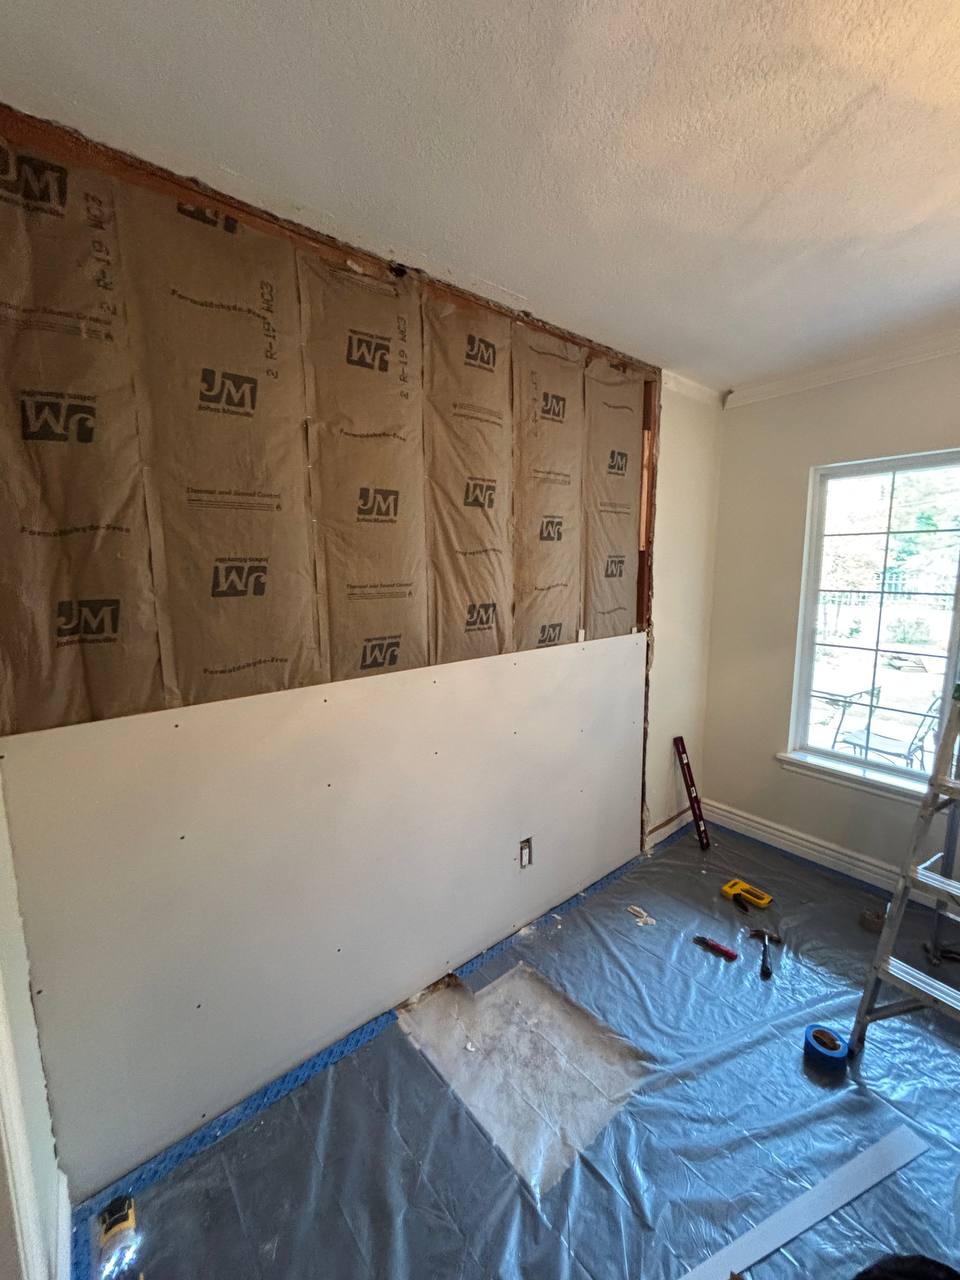


Repair of wall and ceiling surfaces following a water leak, restoring the affected area to a sound and finished condition. The first job on any leak damage is confirming the source has been dealt with and the structure has dried. Closing up damp framing traps moisture and invites mould, so we check moisture levels before any board goes back on. Damaged material was then cut back to sound edges, replaced, taped and skimmed. Water staining also needs a stain-blocking primer before finishing. Standard paint over a water stain will let it bleed back through within a matter of weeks. The repaired area was finished wall to wall and ceiling to ceiling rather than patched in place, so the repair does not show as a different sheen under artificial light. We handle leak damage repair for homeowners, landlords and property managers, including insurance-related work.
A two-storey home in Bel Air, built in 1974. The damage ran across a ceiling and continued down an adjoining wall, which is the pattern you get when water travels along a top plate before it finds somewhere to come through. On a house of this age the wall build-up is often plaster on lath rather than modern drywall, and plaster holds water far longer than board does.
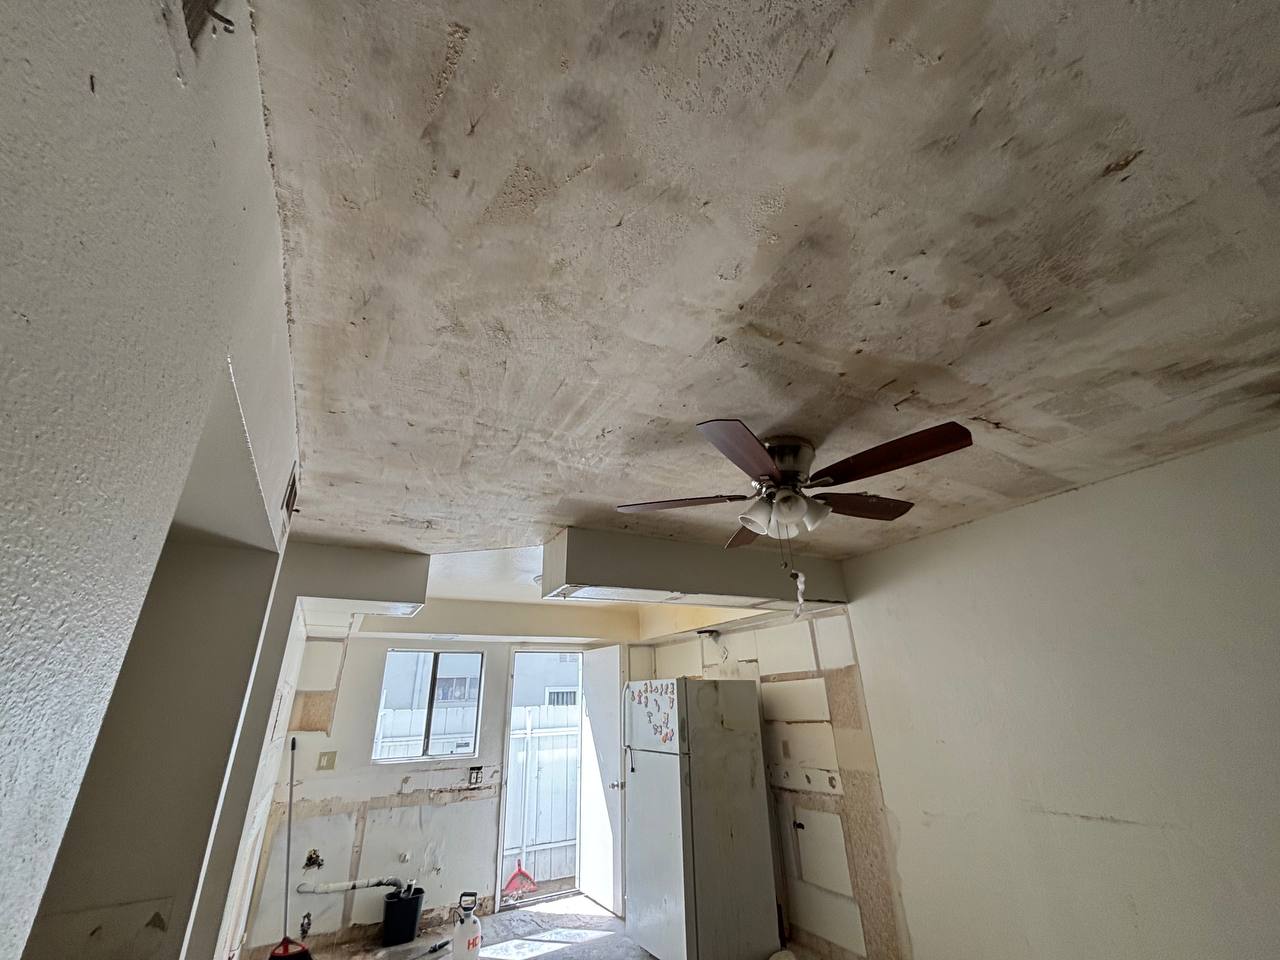
This was an emergency call. There was staining on the ceiling and a dark vertical mark bleeding down the wall below it. The client wanted the stain sealed and the wall repainted before guests arrived that weekend.
The water was coming from the second floor. We traced it to a failed connection upstairs, not a roof issue, which is what he assumed. Because the water had run horizontally before dropping, the wet area was significantly larger than the stain and extended behind the wall finish. Moisture readings were still high two days after the visible dripping had stopped, and there was mould growth on the concealed face of the board and on the framing.
We refused to do the fast version. The client genuinely only wanted the stain gone before the weekend, and a stain-blocking primer plus two coats would have delivered that in one day. But the cavity was still wet and there was mould behind the finish. Sealing a wet wall does two things: it traps the moisture so the mould keeps growing where nobody can see it, and the stain bleeds back through within weeks anyway because the source of the discolouration is behind the paint, not in it. We showed him the meter readings, he understood, and we did it once instead of twice.
Because water does not respect the boundary between the two. When a leak comes from above and runs along a plate, the wall below is part of the same event. Repairing the ceiling and leaving the wall means coming back to the same house in three months to do the second half of a job that should have been done once.