


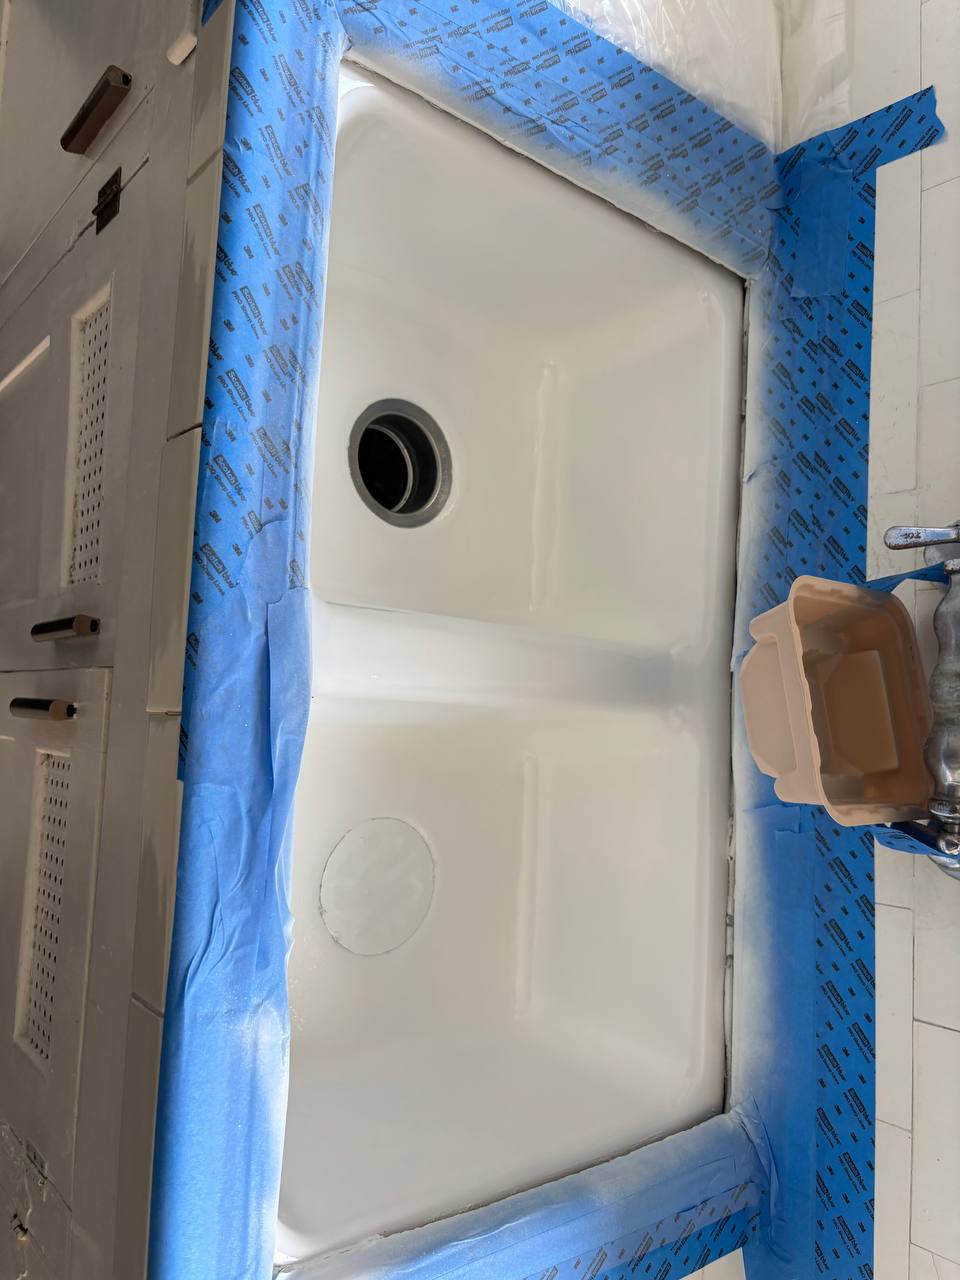
Refinishing an original cast-iron kitchen sink and bathtub in a 1978 Pasadena home instead of replacing them. Replacing the sink would have meant cutting the tiled counter, which would have turned a fixture job into a full kitchen remodel. The before and after photographs show the same fixture. The glaze was stripped, abraded, rebuilt where it had chipped, primed and refinished in thin coats, and the failed joint at the tile edge was rebuilt first so water is no longer tracking under the counter.
A 1978 single-family home in Pasadena with an original cast-iron kitchen sink set into a tiled counter, and an original cast-iron bathtub in the main bathroom. Both were structurally sound. Both looked finished. The porcelain glaze had worn through to a dull grey in the wet zones, with rust bloom around the strainers, staining that no longer came out with cleaning, and chipping along the front edge.
She had two quotes to replace both fixtures. Replacing the kitchen sink meant cutting the tiled counter, which meant a new counter, which meant the backsplash, which is how a sink turns into a kitchen remodel. She asked us whether there was a way to keep the original cast iron and make it look new again.
The cast iron itself was in excellent condition, which is normal. Cast iron outlives the glaze by decades. What had actually failed was the surface: years of abrasive cleaner had opened the glaze, and once water sits in an open glaze you get the staining and the rust ring that people mistake for a worn-out sink. We also found the previous owner had used a silicone bead at the sink-to-tile joint that had failed, so water had been tracking under the tile edge. Refinishing the sink without fixing that joint would have looked good and solved nothing.
Refusing to spray the sink until the failed joint at the tile edge was rebuilt. The client only cared about how the sink looked, and we could have delivered that in a day. But water had already been getting under the tile, and a fresh white finish would have sat directly above a wet substrate. Within a year you get the tile edge lifting and the coating blistering from behind, and everyone blames the coating. The failure was never the finish, it was the joint.
Because the alternative was not a new sink, it was a new counter and a new backsplash. Refinishing kept an original cast-iron fixture in service, avoided demolition in a kitchen the family uses every day, and cost a fraction of the replacement route. Refinishing is not always the right call. When the iron itself is cracked or the fixture is the wrong size for how the room is used, we say so and quote the replacement. Here it was the right call.