


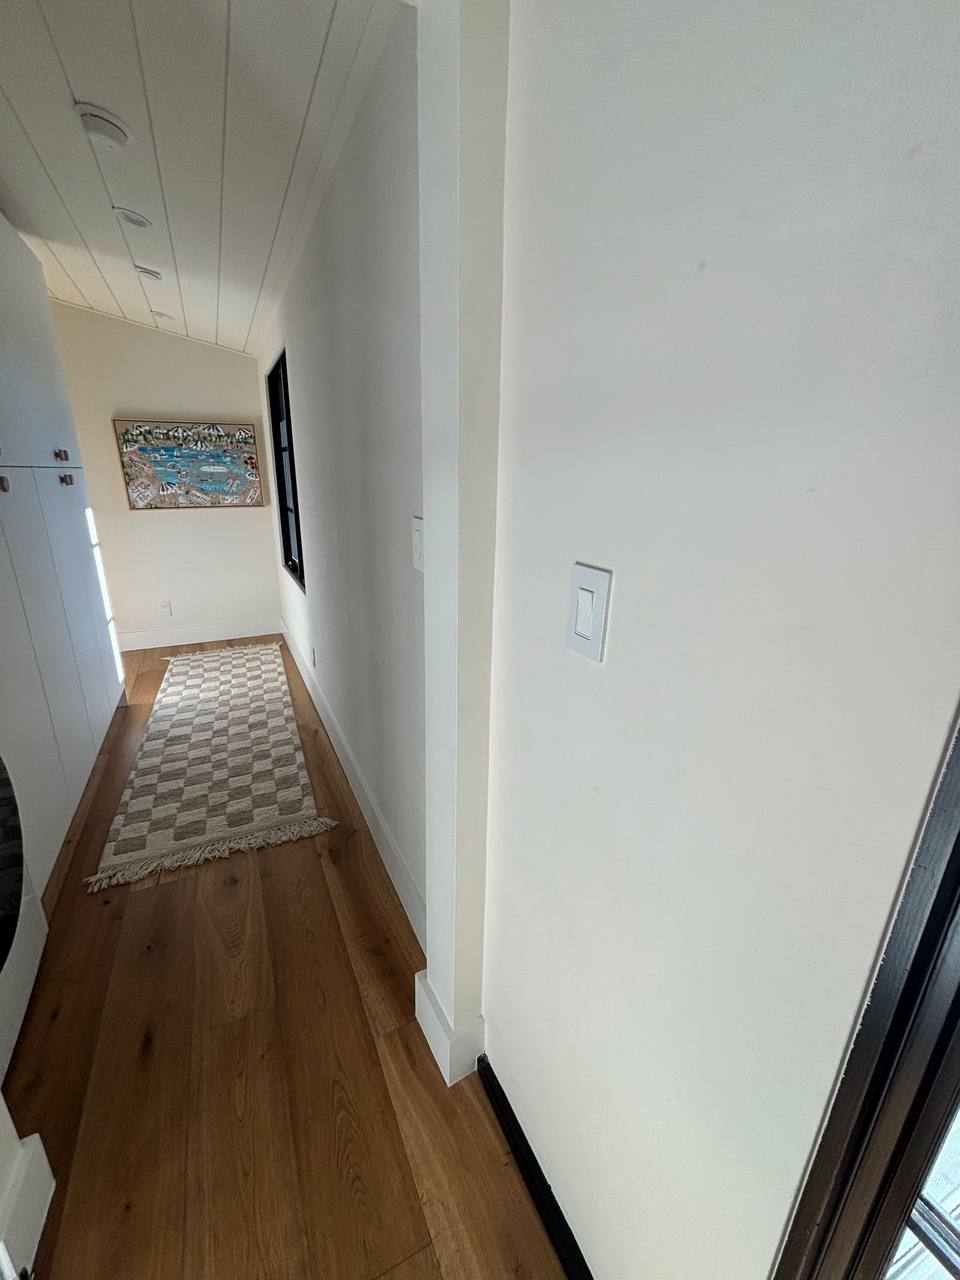

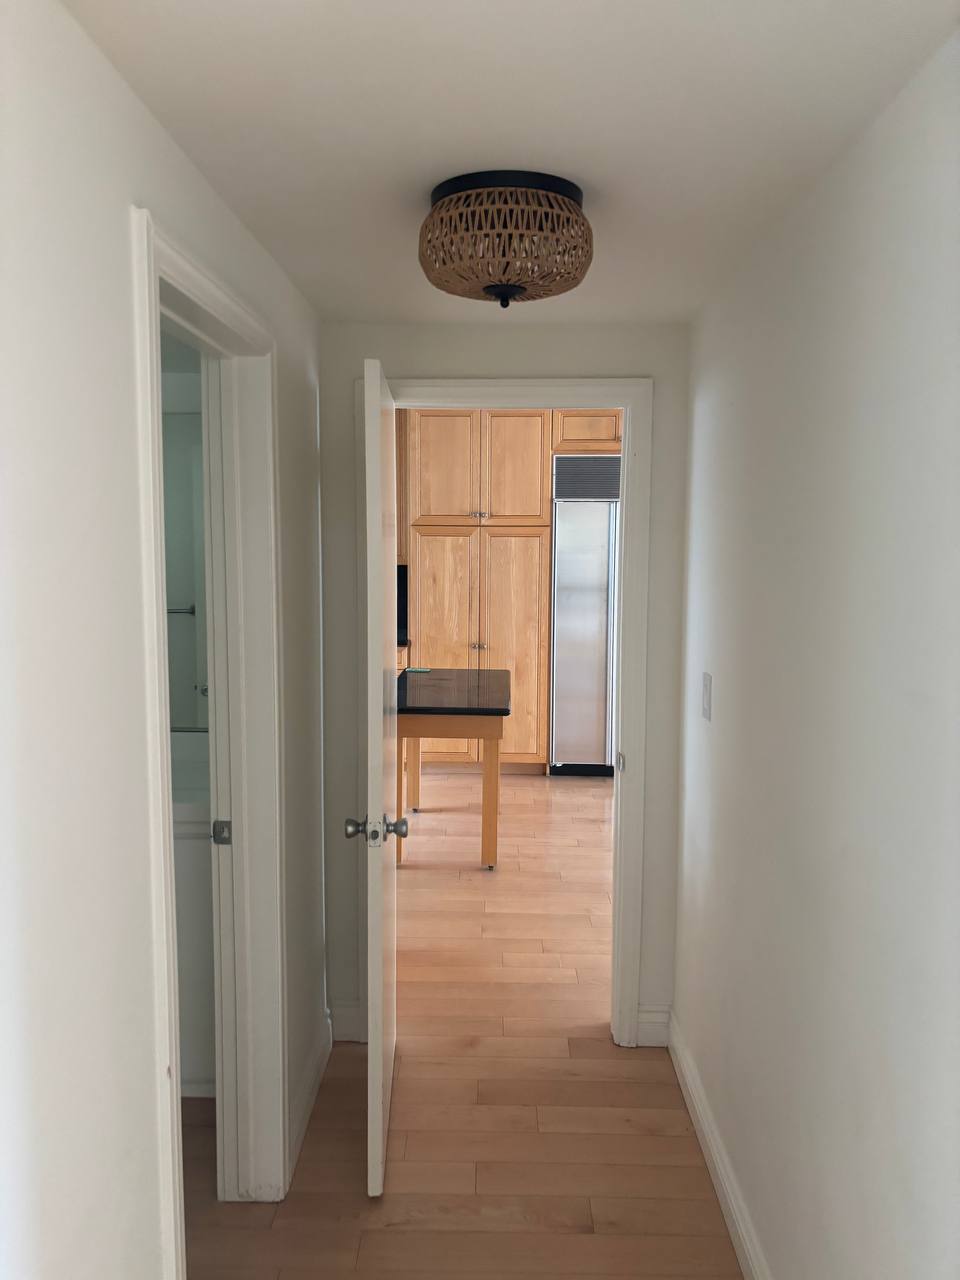
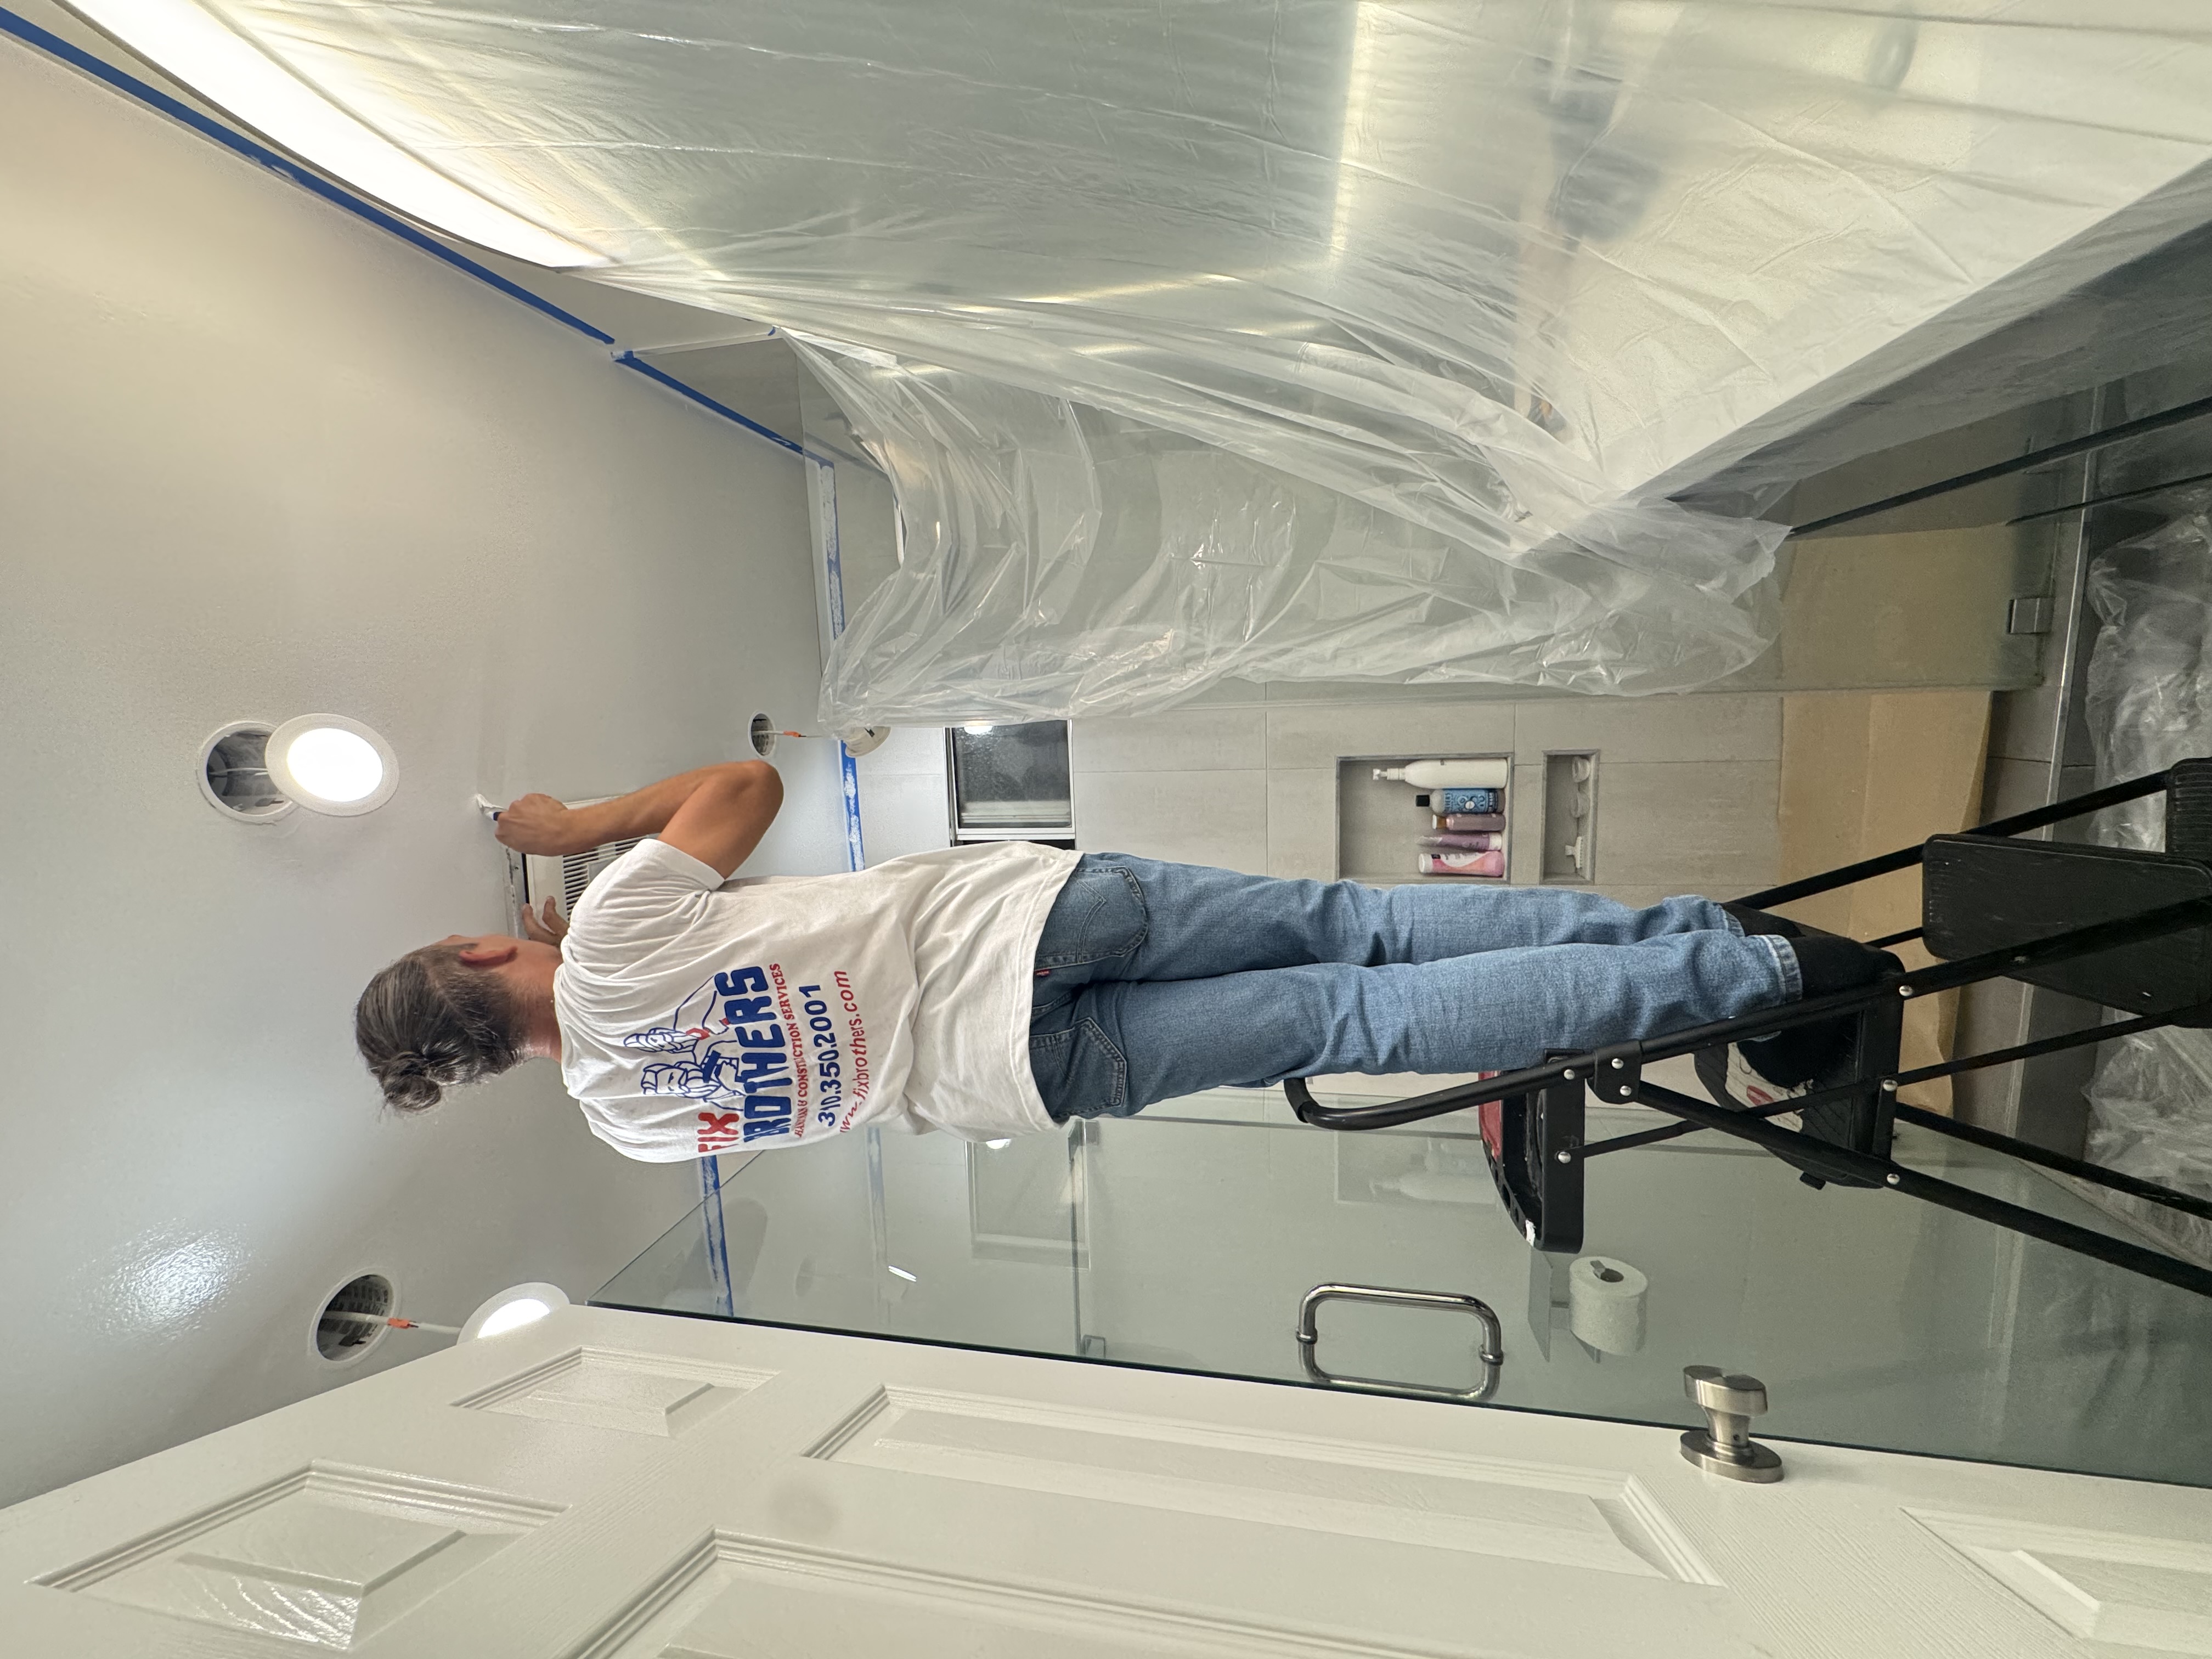
A whole-house interior repaint in Studio City, carried out with the family still living in the house. Every ceiling, wall, closet, door and length of trim brought back to one continuous warm off-white, with the substrate repaired and primed properly first rather than painted over. The part that matters is not the colour. It is the preparation: adhesion testing, nail pops and seam cracks repaired, a bonding primer over the old glossy and chalking coats, and a moisture-tolerant finish in the bathrooms so the paint above the showers does not go soft again.
A two-storey single-family home in Studio City, built in 1994, occupied throughout the job. Around 2,600 square feet of walls, ceilings, hallways, closets, three bathrooms and all the interior trim. The family stayed in the house while we worked, which changes how you sequence everything.
They asked for the whole house to be repainted in one warm off-white so the rooms would read as one continuous space instead of the six different colours the previous owner had left behind. The brief was explicitly about the finish quality: no roller marks, no picture-framing at the corners, and no paint on the floors or hardware.
Three separate problems that no amount of paint would have hidden. The previous coat was a low-grade flat that had been applied over a glossy builder finish with no primer, so it was already chalking and coming away when we tested it with tape. The hallway and stairwell had nail pops and hairline cracks along most of the drywall seams from normal seasonal movement. And two of the bathrooms had been painted with a wall paint rather than a moisture-tolerant finish, so the paint above the shower had gone soft. If we had simply painted over all of that, the new coat would have looked excellent for about a year.
Spending the first two days on adhesion testing and priming rather than painting. It is the least visible money in the whole job and it is the reason the finish will still be tight in five years. The alternative, which is what the previous painter did, is to spray a fresh coat straight over a glossy or chalking surface. It looks flawless on the last day. Then it starts peeling in sheets around the wet areas and lifting with the tape every time a picture hook comes out, and the only honest repair is to strip and start again. Paint is a system, not a colour.
We removed door hardware and switch plates instead of masking them. It is slower, and it is the difference between a repaint and a paint job. Taped hardware always leaves a ridge of paint at the edge, and that ridge is the first thing the eye finds on a door you touch every day.