


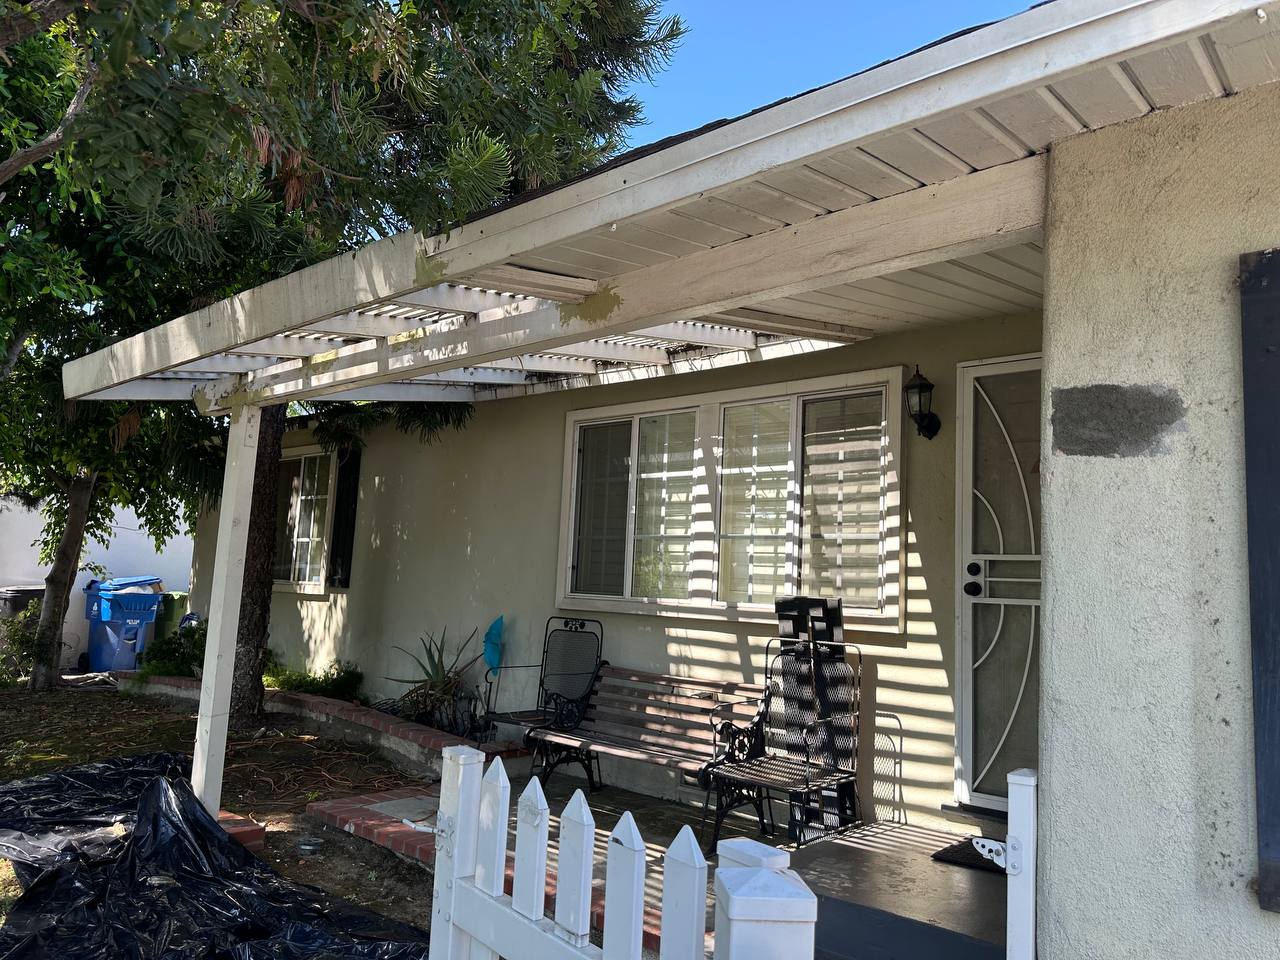
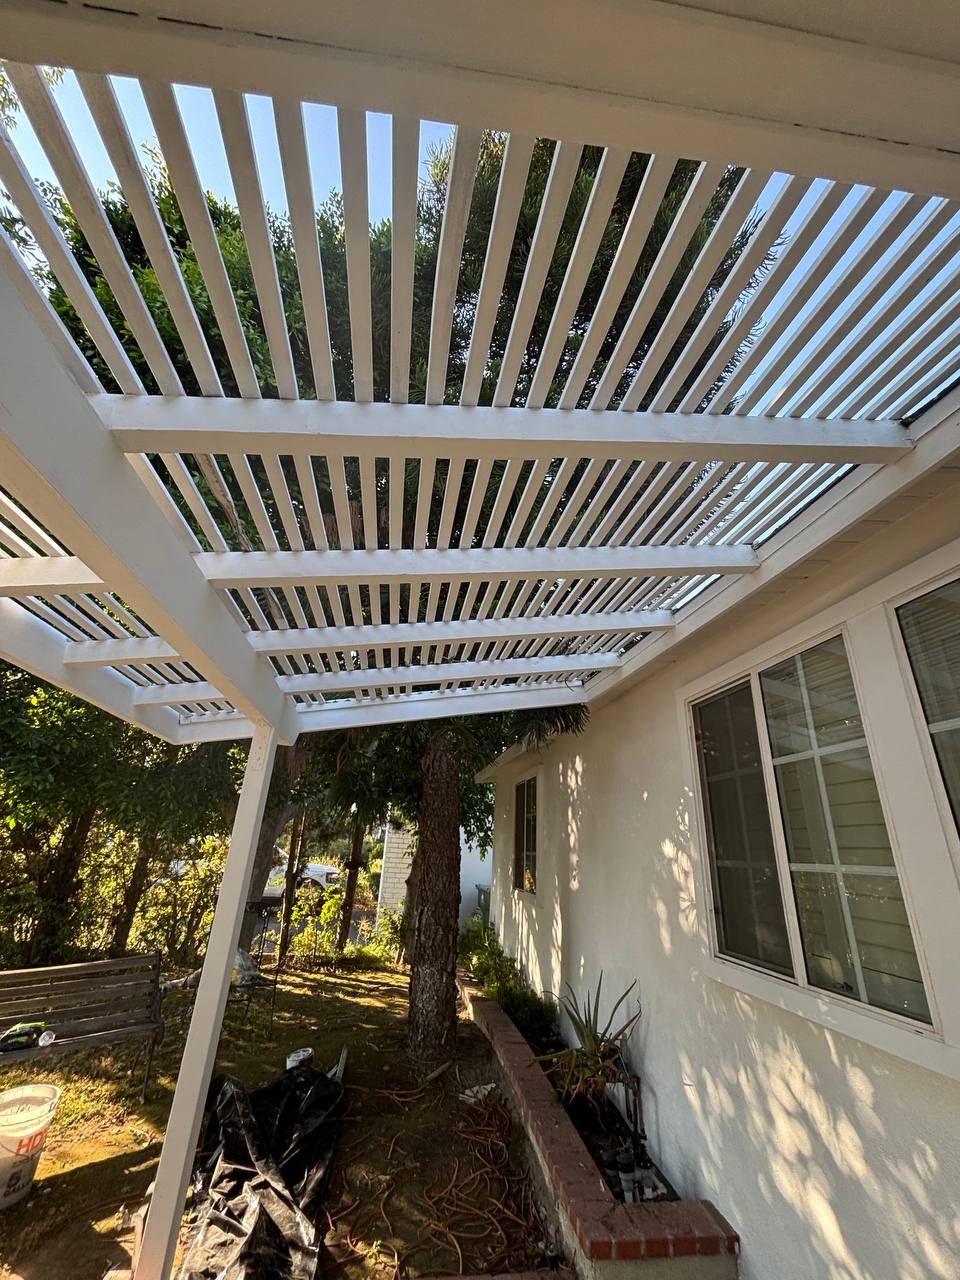
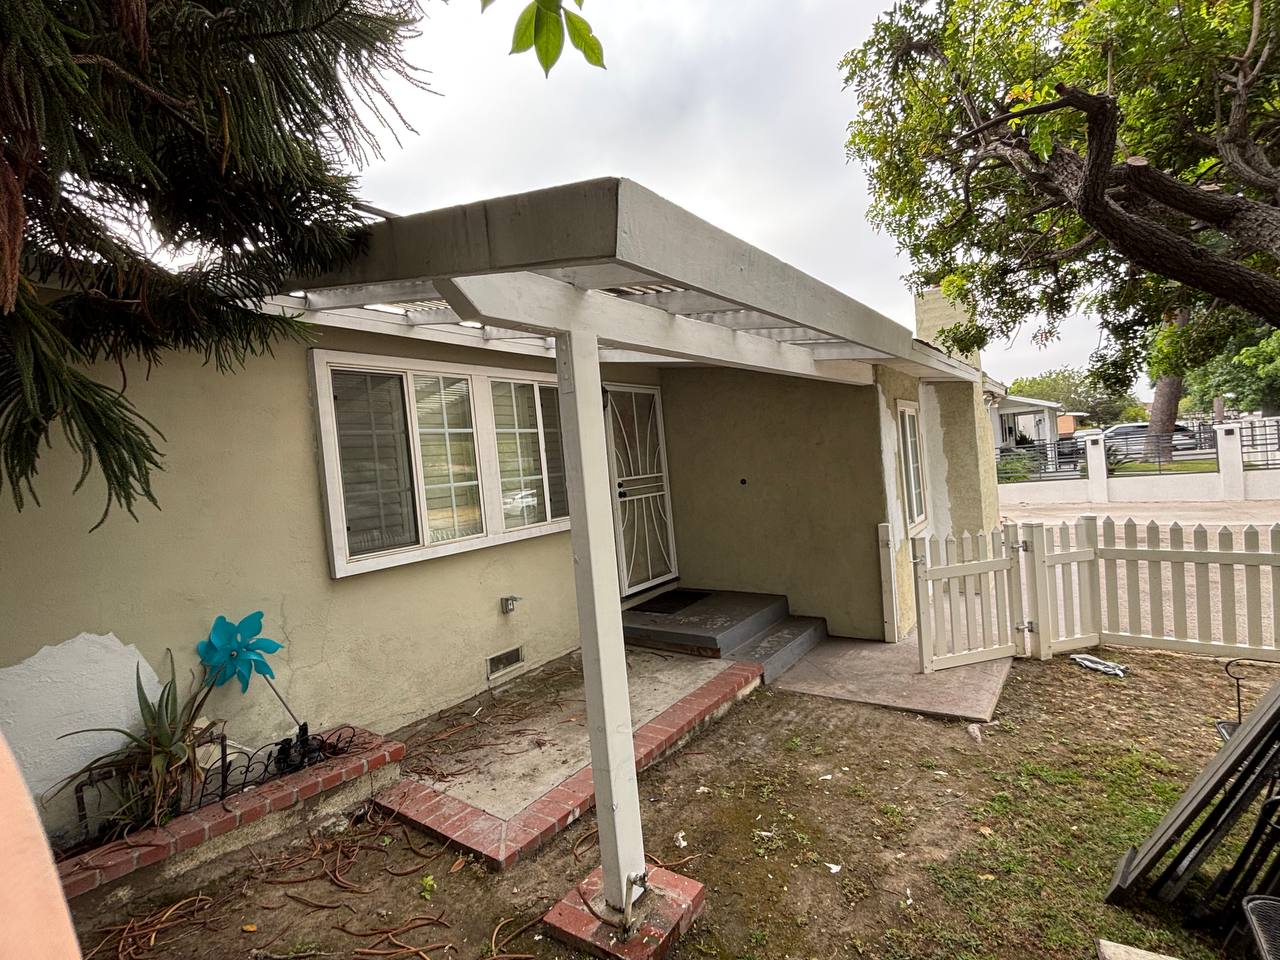

Assembly and installation of an outdoor gazebo, set level, square and properly anchored. The critical part of any gazebo installation is the base and the anchoring. A structure of this size acts as a sail in wind, and the most common failure we are called to fix is a unit that was assembled on an uneven surface and never fixed down. Our crew checked and prepared the base, assembled the frame square, and anchored the posts using fixings suited to the surface it sits on. The roof and panels were fitted and checked for fit and drainage so water sheds away from the structure rather than pooling on it. We assemble and install gazebos, pergolas, sheds, playsets and other outdoor structures, and can also handle the pad or decking underneath if the ground is not suitable as it stands.
A 2001 house in Calabasas with a rear yard on a slight grade. The gazebo was going onto an existing patio area that looked flat and was not, which is the normal starting point for this job.
Assemble and install a large outdoor gazebo, square, level, and anchored so it does not move. They had bought the structure themselves and had originally planned to put it up over a weekend with friends.
The patio fell about an inch and a half across the footprint, which is nothing to look at and is enough to leave a structure of this size visibly out of square once the posts are set. More importantly, the existing surface was a thin slab with no thickened edge where two of the posts needed to land, so the anchors the kit came with would have been pulling against a few inches of unreinforced concrete. Wind loading is the whole engineering problem with a gazebo: a roof this size acts as a sail, and the failure we are most often called out to fix is a unit that was assembled on an uneven surface and never properly anchored.
Replacing the supplied anchors with fasteners selected for the actual substrate, and correcting the bearing under two of the posts. Both of those decisions are completely invisible in the finished photographs. The alternative is what the instructions tell you to do: bolt it down with what came in the box. That holds fine on a still day. Then a Santa Ana comes through, the roof loads up like a sail, and the load goes into four anchors that were never rated for it. We have been called out to lift and re-anchor gazebos that somebody else assembled, and it is always the same two failures: assembled on an uneven surface, and anchored with whatever was in the box.
Push firmly against a corner post at shoulder height. If the whole structure flexes and you can feel movement at the base, the anchoring is doing less than you think it is. It is a cheap thing to correct now and an expensive thing to correct after a windstorm.