


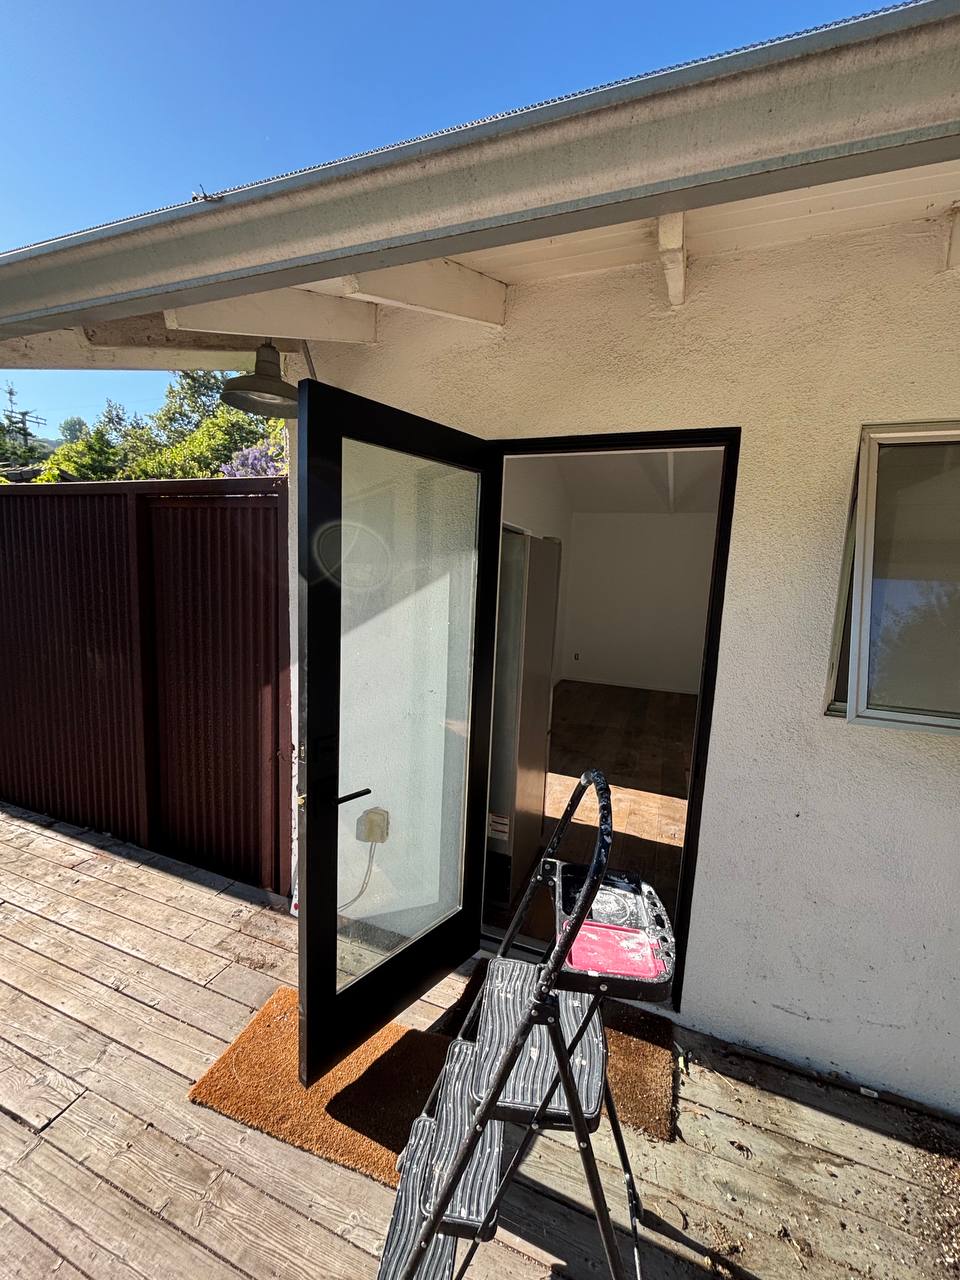
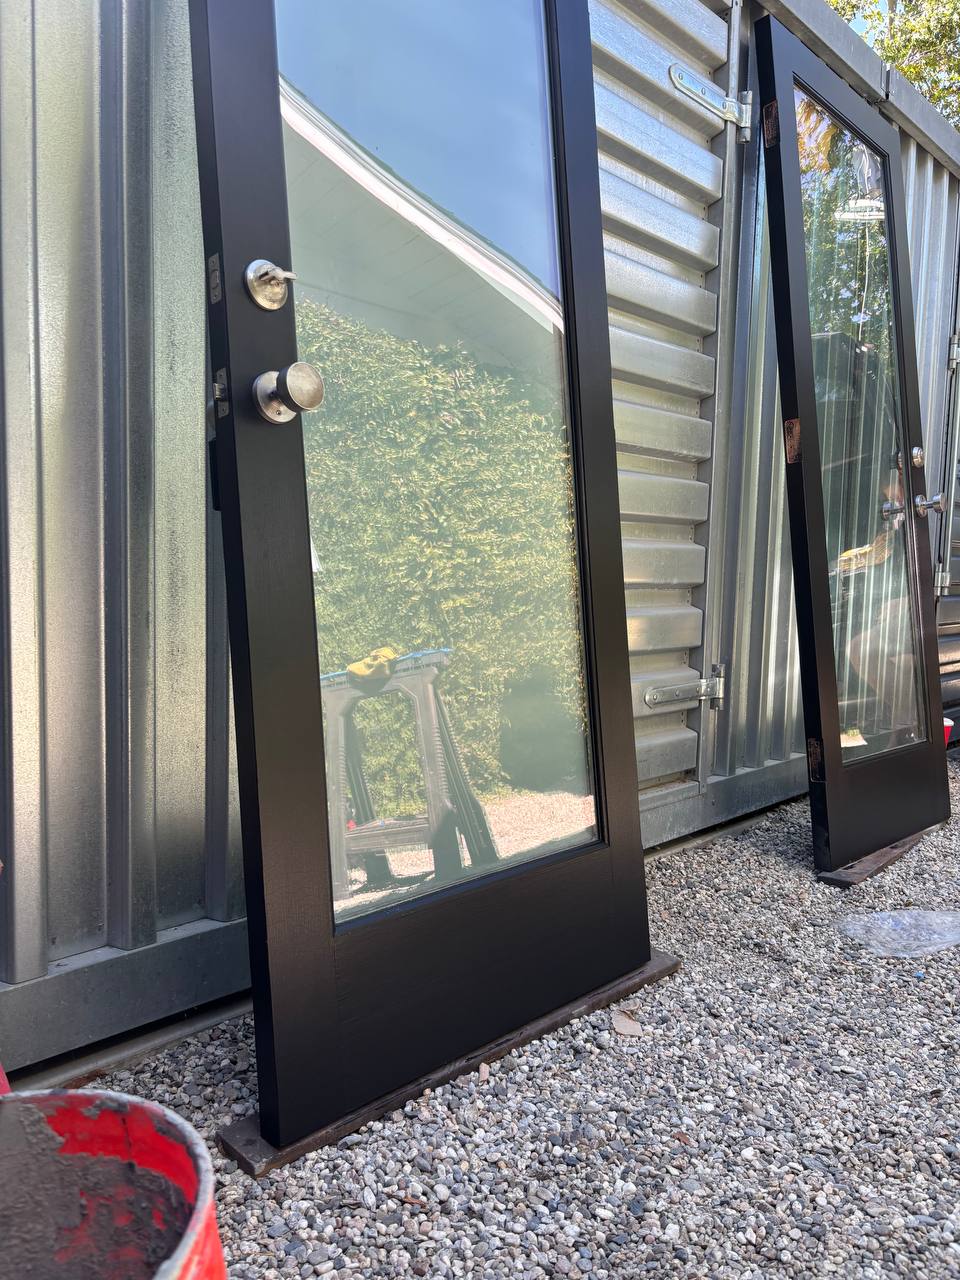
Preparation and repainting of an exterior front door, restoring a weathered entrance without replacing it. A south or west-facing front door in Los Angeles takes a serious amount of UV, and the finish usually fails long before the door itself does. Repainting is a fraction of the cost of replacement, but only if the preparation is done properly. Our crew removed the hardware rather than cutting around it, sanded back the failed coating to a sound edge, filled and repaired the surface, and primed before applying the finish coats. Edges and the top and bottom of the door were sealed as well, since unsealed end grain is where moisture gets in and lifts the paint from behind. Hardware was refitted and the door adjusted to close cleanly. A front door is the first thing a visitor touches, and it is one of the highest-impact small jobs on any property.
A 1976 house in Beverly Hills with a solid timber front door on a west-facing entry. West-facing is the whole story on this job: that door takes direct afternoon sun for several hours every day, and no finish survives that if it was applied badly.
Repaint the front door. The existing finish had gone chalky and dull, was flaking along the bottom rail, and the colour had drifted away from the rest of the trim. She wanted it to look like a new door, and she did not want the entry standing open to the street all day.
The flaking at the bottom rail was a water fault, not a paint fault. The bottom edge of the door had never been finished, so it had been drawing water off the threshold for years and the coating was being pushed off from behind. The faces were chalking from UV. And the last repaint had been done with the hardware masked rather than removed, so there was a ridge of paint around every escutcheon and hinge that you could feel with a fingertip.
Sealing the bottom edge and the end grain before anything visible happened. Nobody will ever see that surface, and it is the only reason the bottom rail will not be flaking again in two summers. A front door fails from its edges inward, because the faces are protected by the coating and the edges usually are not. Painting only what the client can see is how you get a door that looks perfect for eighteen months.
Masking is faster and it always leaves a raised paint edge where the tape was. On a front door, the one surface in the house that every visitor touches and looks at from a foot away, that ridge is the first thing the eye and the hand both find. Removing the hardware, painting to a clean edge and refitting onto a cured finish costs a couple of extra hours, and it is most of the difference between a repainted door and a door that looks new.