


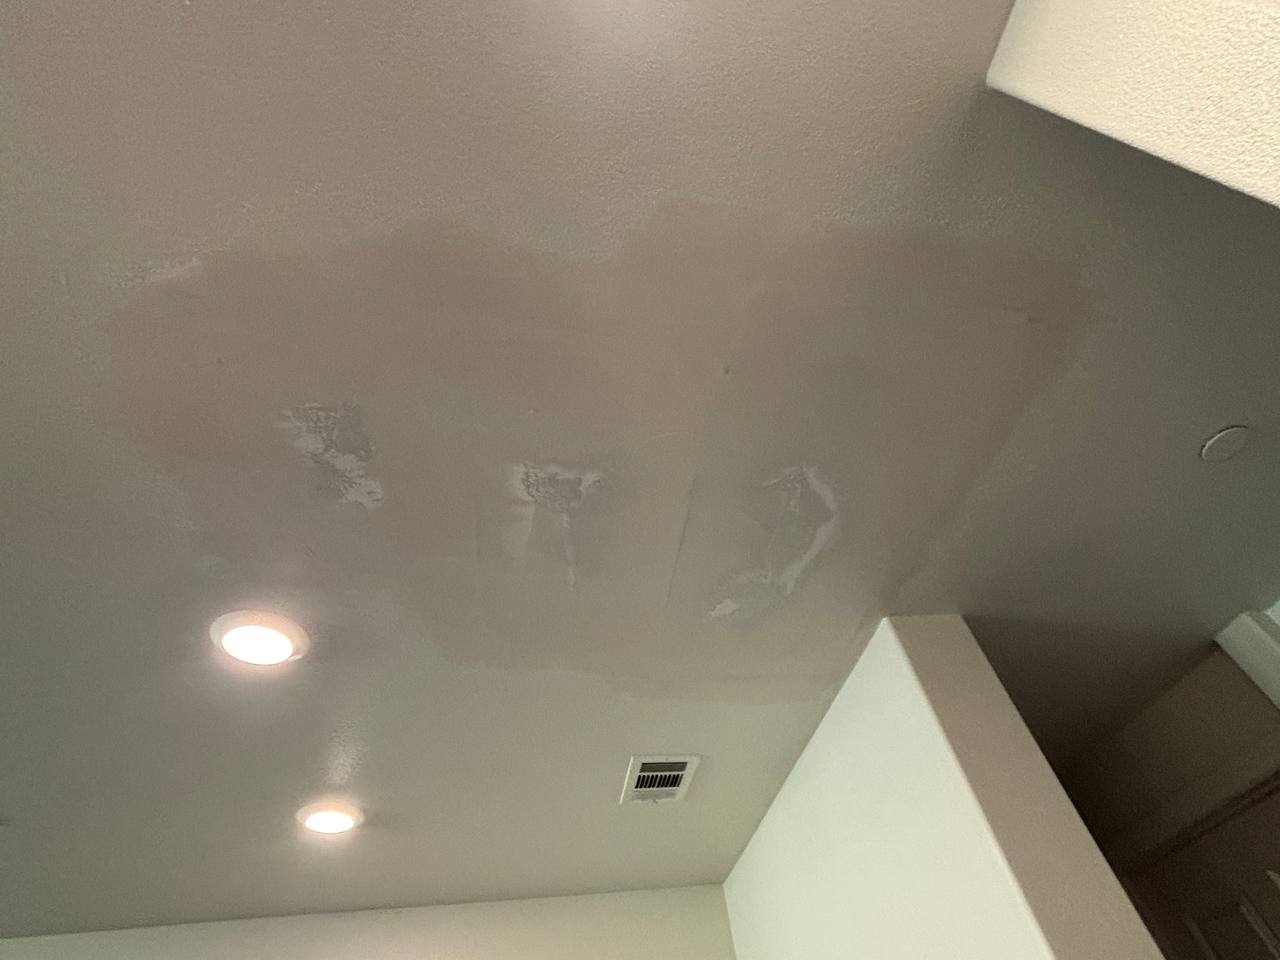


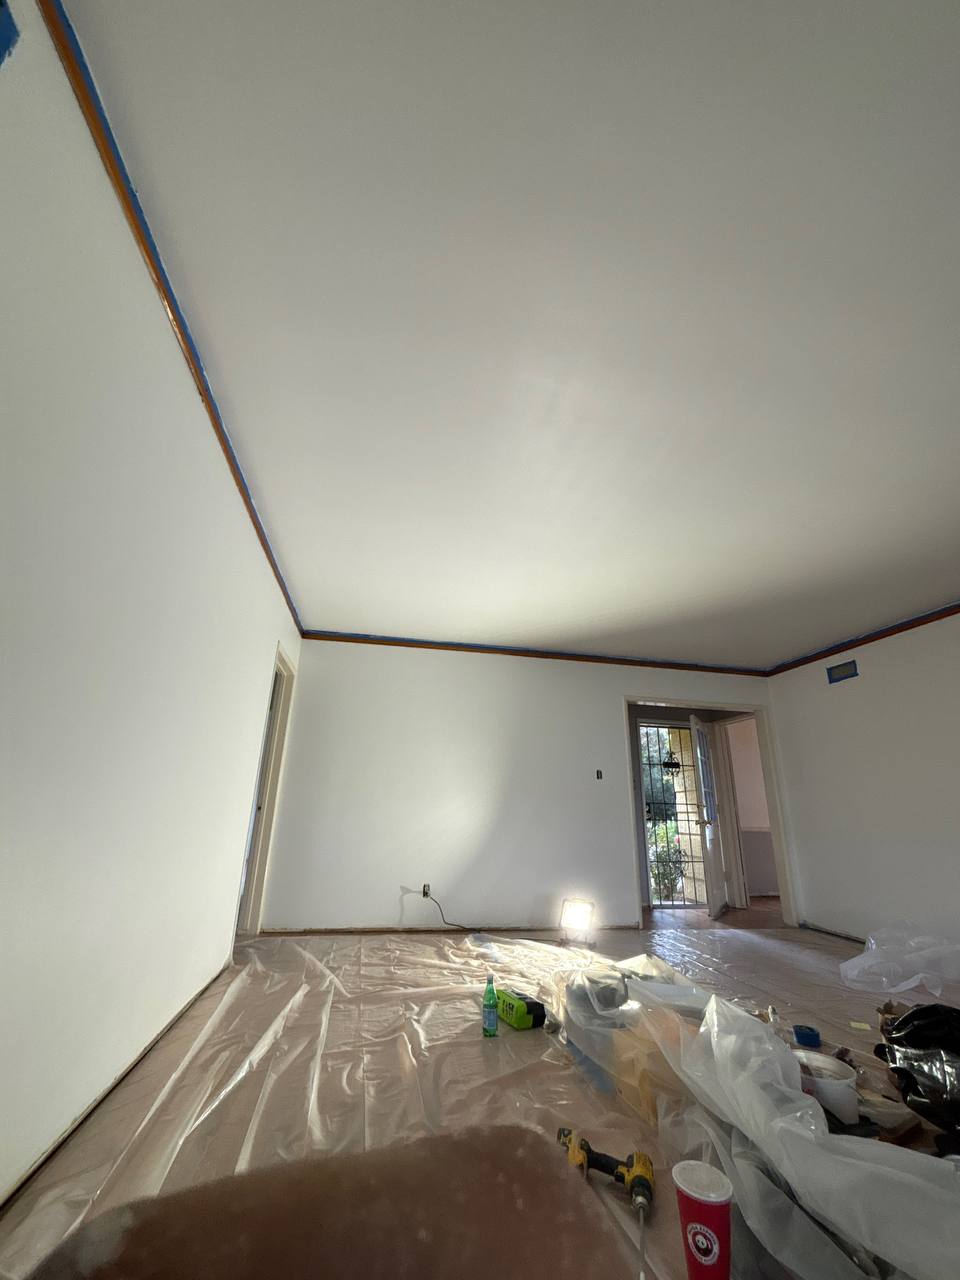
Skim-coating and refinishing a ceiling that had lost its flat surface through age, cracking and previous patch repairs. Ceilings are the hardest surface in a house to make look right, because every light fitting throws raking light across them and exposes any ripple or trowel mark. For this project the existing surface was scraped back, cracks were cut out and reinforced rather than simply filled, and the whole ceiling was skimmed in successive coats and sanded flat before priming. We also correct the common shortcut of filling a crack without addressing why it opened. Cracks that follow a board joint need tape; settlement cracks need to be cut, filled and monitored. Skipping that step is why the same lines reappear a season later. The finished ceiling was primed and finished in a flat ceiling paint, which hides residual variation far better than any sheen.
A 2004 home in Studio City. Newer construction, so the ceiling was standard board rather than plaster, but the room sat directly under an upstairs bathroom and the ceiling had been through a slow leak followed by a rushed repair.
He asked for the ceiling to be skimmed and repainted. His words were that the surface looked lumpy and he wanted it smooth. To him this was a finishing job, not a water job.
The lumpiness was the symptom, not the problem. Somebody had filled the damaged area with compound in one thick application to save time. Compound applied that heavily shrinks and cracks as it cures, and if the board underneath is still moving it will crack regardless of how well it is sanded. Meter readings showed the cavity was still holding moisture, and once we opened it we found mould on the concealed side of the board and on the framing. The water had come from the second floor and the source had never been properly resolved.
Building the compound up in three thin coats instead of one thick one. This is the single most common shortcut in drywall finishing and it is the reason so many ceilings develop a map of hairline cracks a few months after they were finished. Thick compound shrinks unevenly as it dries, and the more you put on in one pass the more it moves. Three thin coats take three visits to the same room and they stay flat. If a contractor tells you he can skim and paint a ceiling in one day, he is telling you which method he is using.
With a light held almost flat against the surface, not with a hand. A ceiling can feel perfectly smooth and still show every trowel edge once a lamp or a window throws light across it at a low angle. That is the condition the client will see it in every evening, so that is the condition we sand it in.