


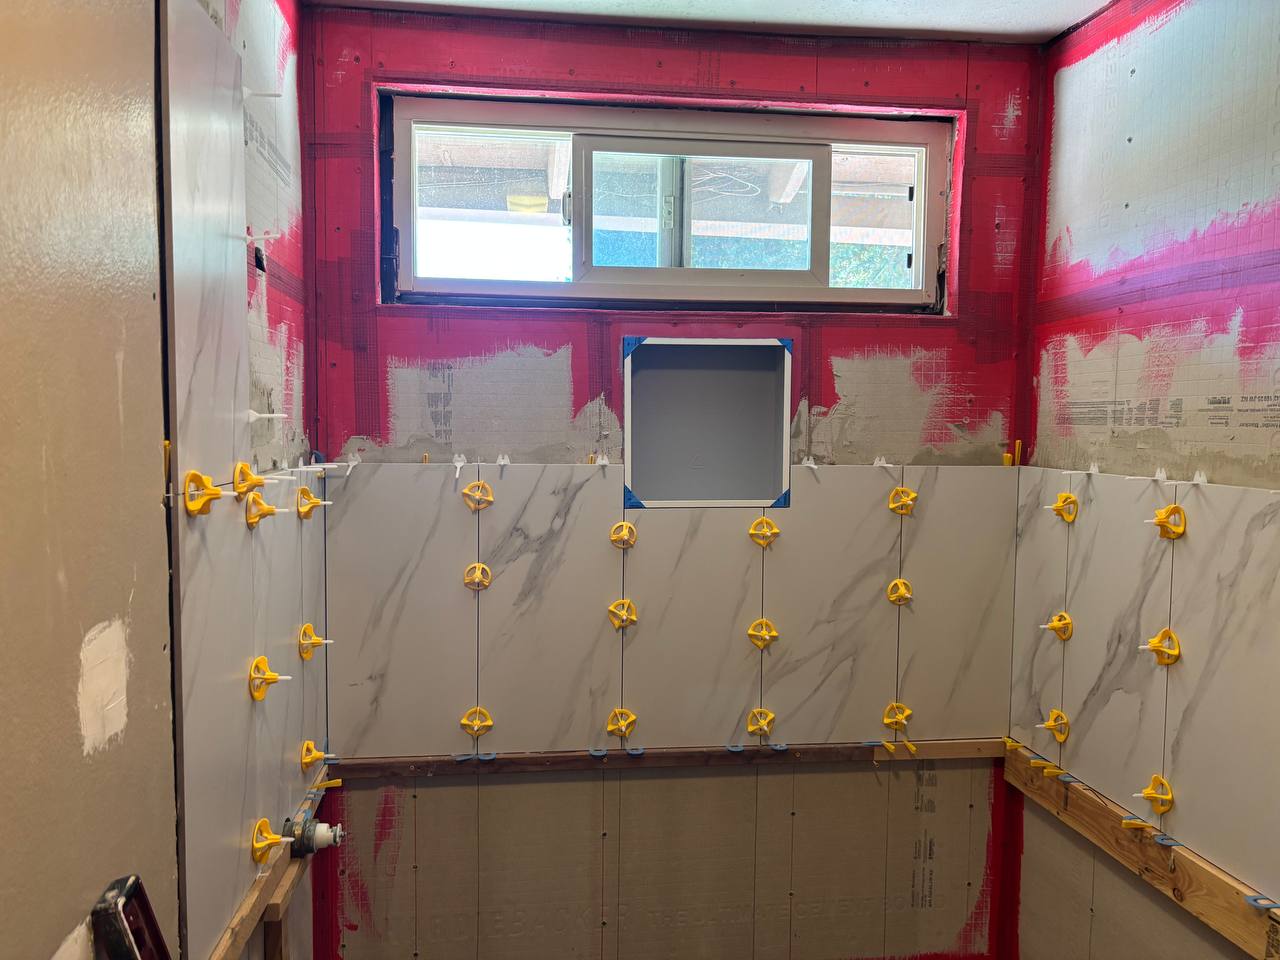

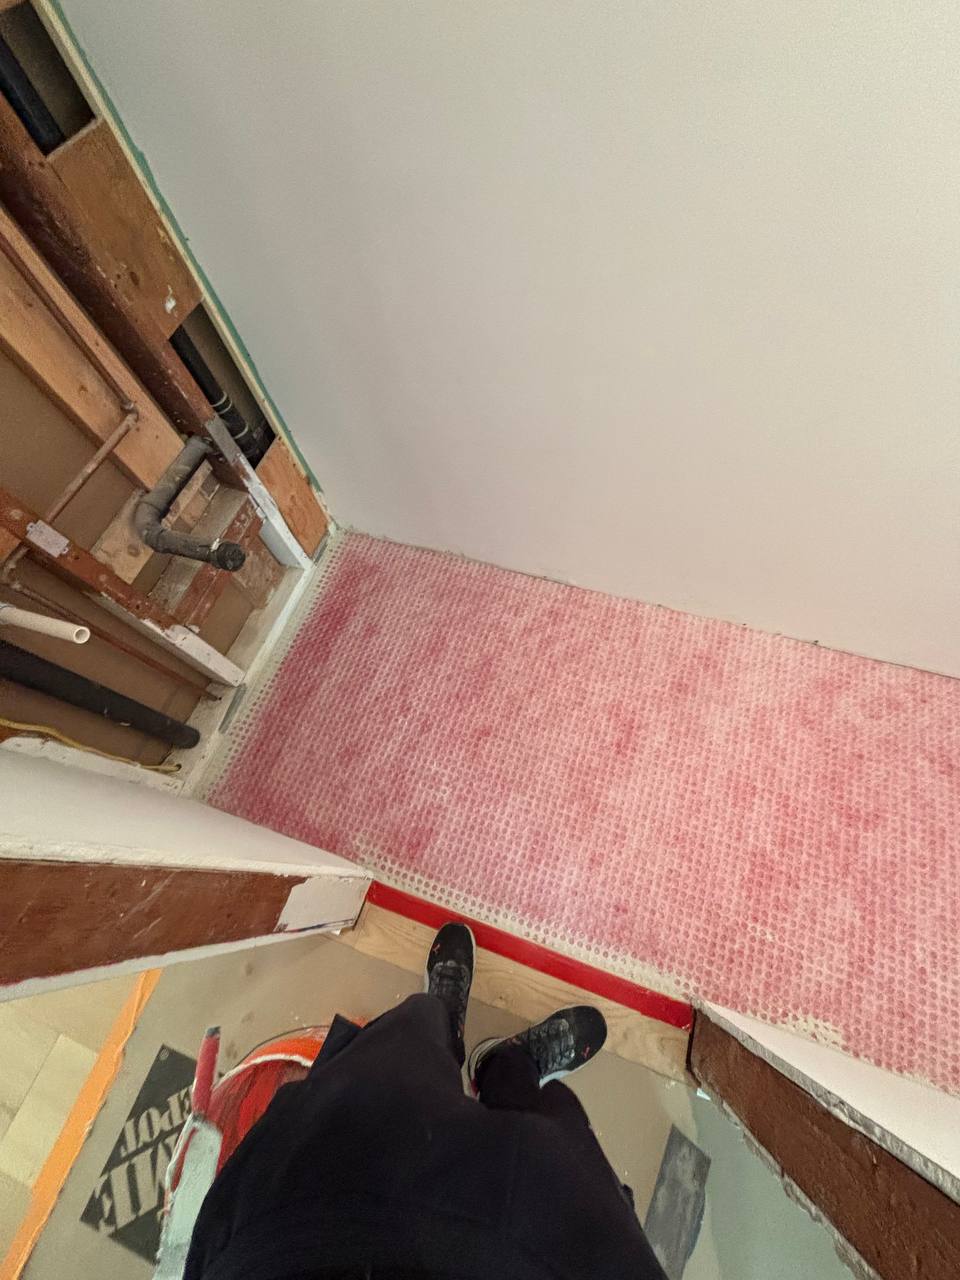

A residential bathroom renovation in Santa Clarita, covering demolition, substrate repair, tiling and the installation of new fixtures. Santa Clarita's housing stock is largely tract-built from the 1980s and 1990s, which means original builder-grade bathrooms are now reaching the end of their service life. The common problems we find are failed grout, water damage behind the tub surround and vanities that were never sealed to the wall. All of that gets corrected before any new finish goes on, because tiling over a compromised substrate simply buys a year or two. The finished room included a new tiled wet area, updated fittings, fresh caulking at every joint and improved ventilation. We work in one bathroom at a time so households with a second bathroom stay usable throughout.
A 1998 two-storey family home in Santa Clarita. The bathroom in question sits on the upper floor, and the ceiling of the room below it was the first place the problem showed. This is the most common water job we are called to in the Valley and it almost never starts in the room that is stained.
The call was urgent. There was water marking the ceiling downstairs and a musty smell in the upstairs bathroom. They asked us to find the leak and fix the ceiling. They were not expecting the bathroom itself to be part of the job.
The water was escaping from the shower area on the second floor, not from a supply pipe. The original waterproofing had been taken up the wall only a token amount and had failed at the change of plane, which is where almost every shower fails. Water had been passing the tile for a long time. The subfloor around the shower had gone soft in places, there was mould on the framing and on the back of the wall board, and the ceiling below was wet across an area far larger than the stain suggested.
Forming the pre-slope again from scratch instead of tiling onto the existing fall. The old fall looked acceptable and reusing it would have saved a day. But the entire waterproofing system depends on water reaching the drain, and a shower floor that is even slightly flat in one corner will hold water against the membrane permanently. That is what had already happened here once. Rebuilding the fall is the difference between a shower that is waterproof and a shower that is merely tiled.
We could have replaced the ceiling, painted it and left. It would have looked finished and it would have failed again, because the shower above it was still leaking. Repairing water damage without rebuilding the thing that caused it is not a repair, it is a delay. That is the conversation we have with every client on this type of job, and it is the reason this one was fixed once.